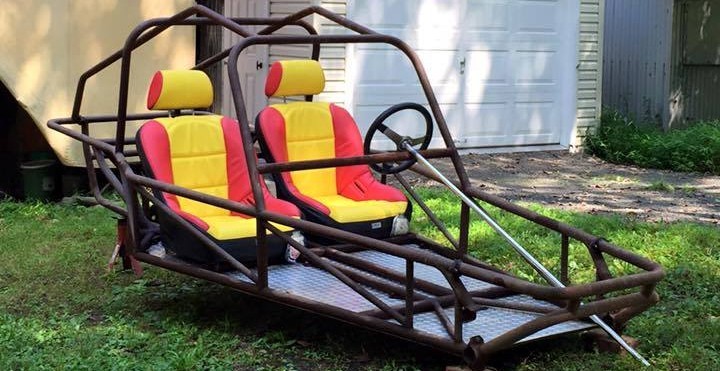
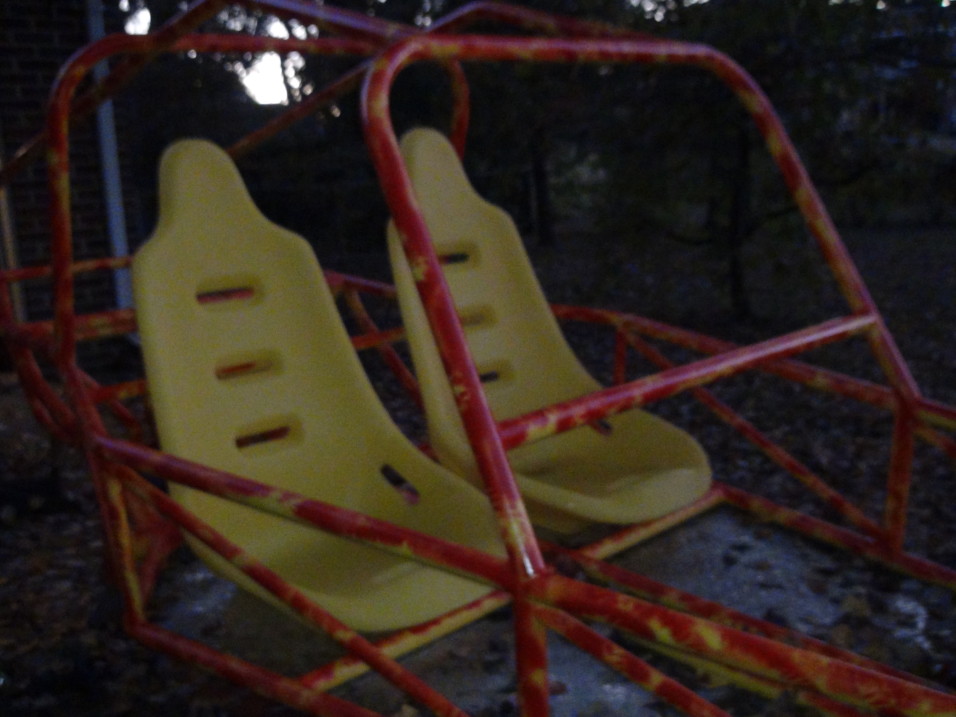
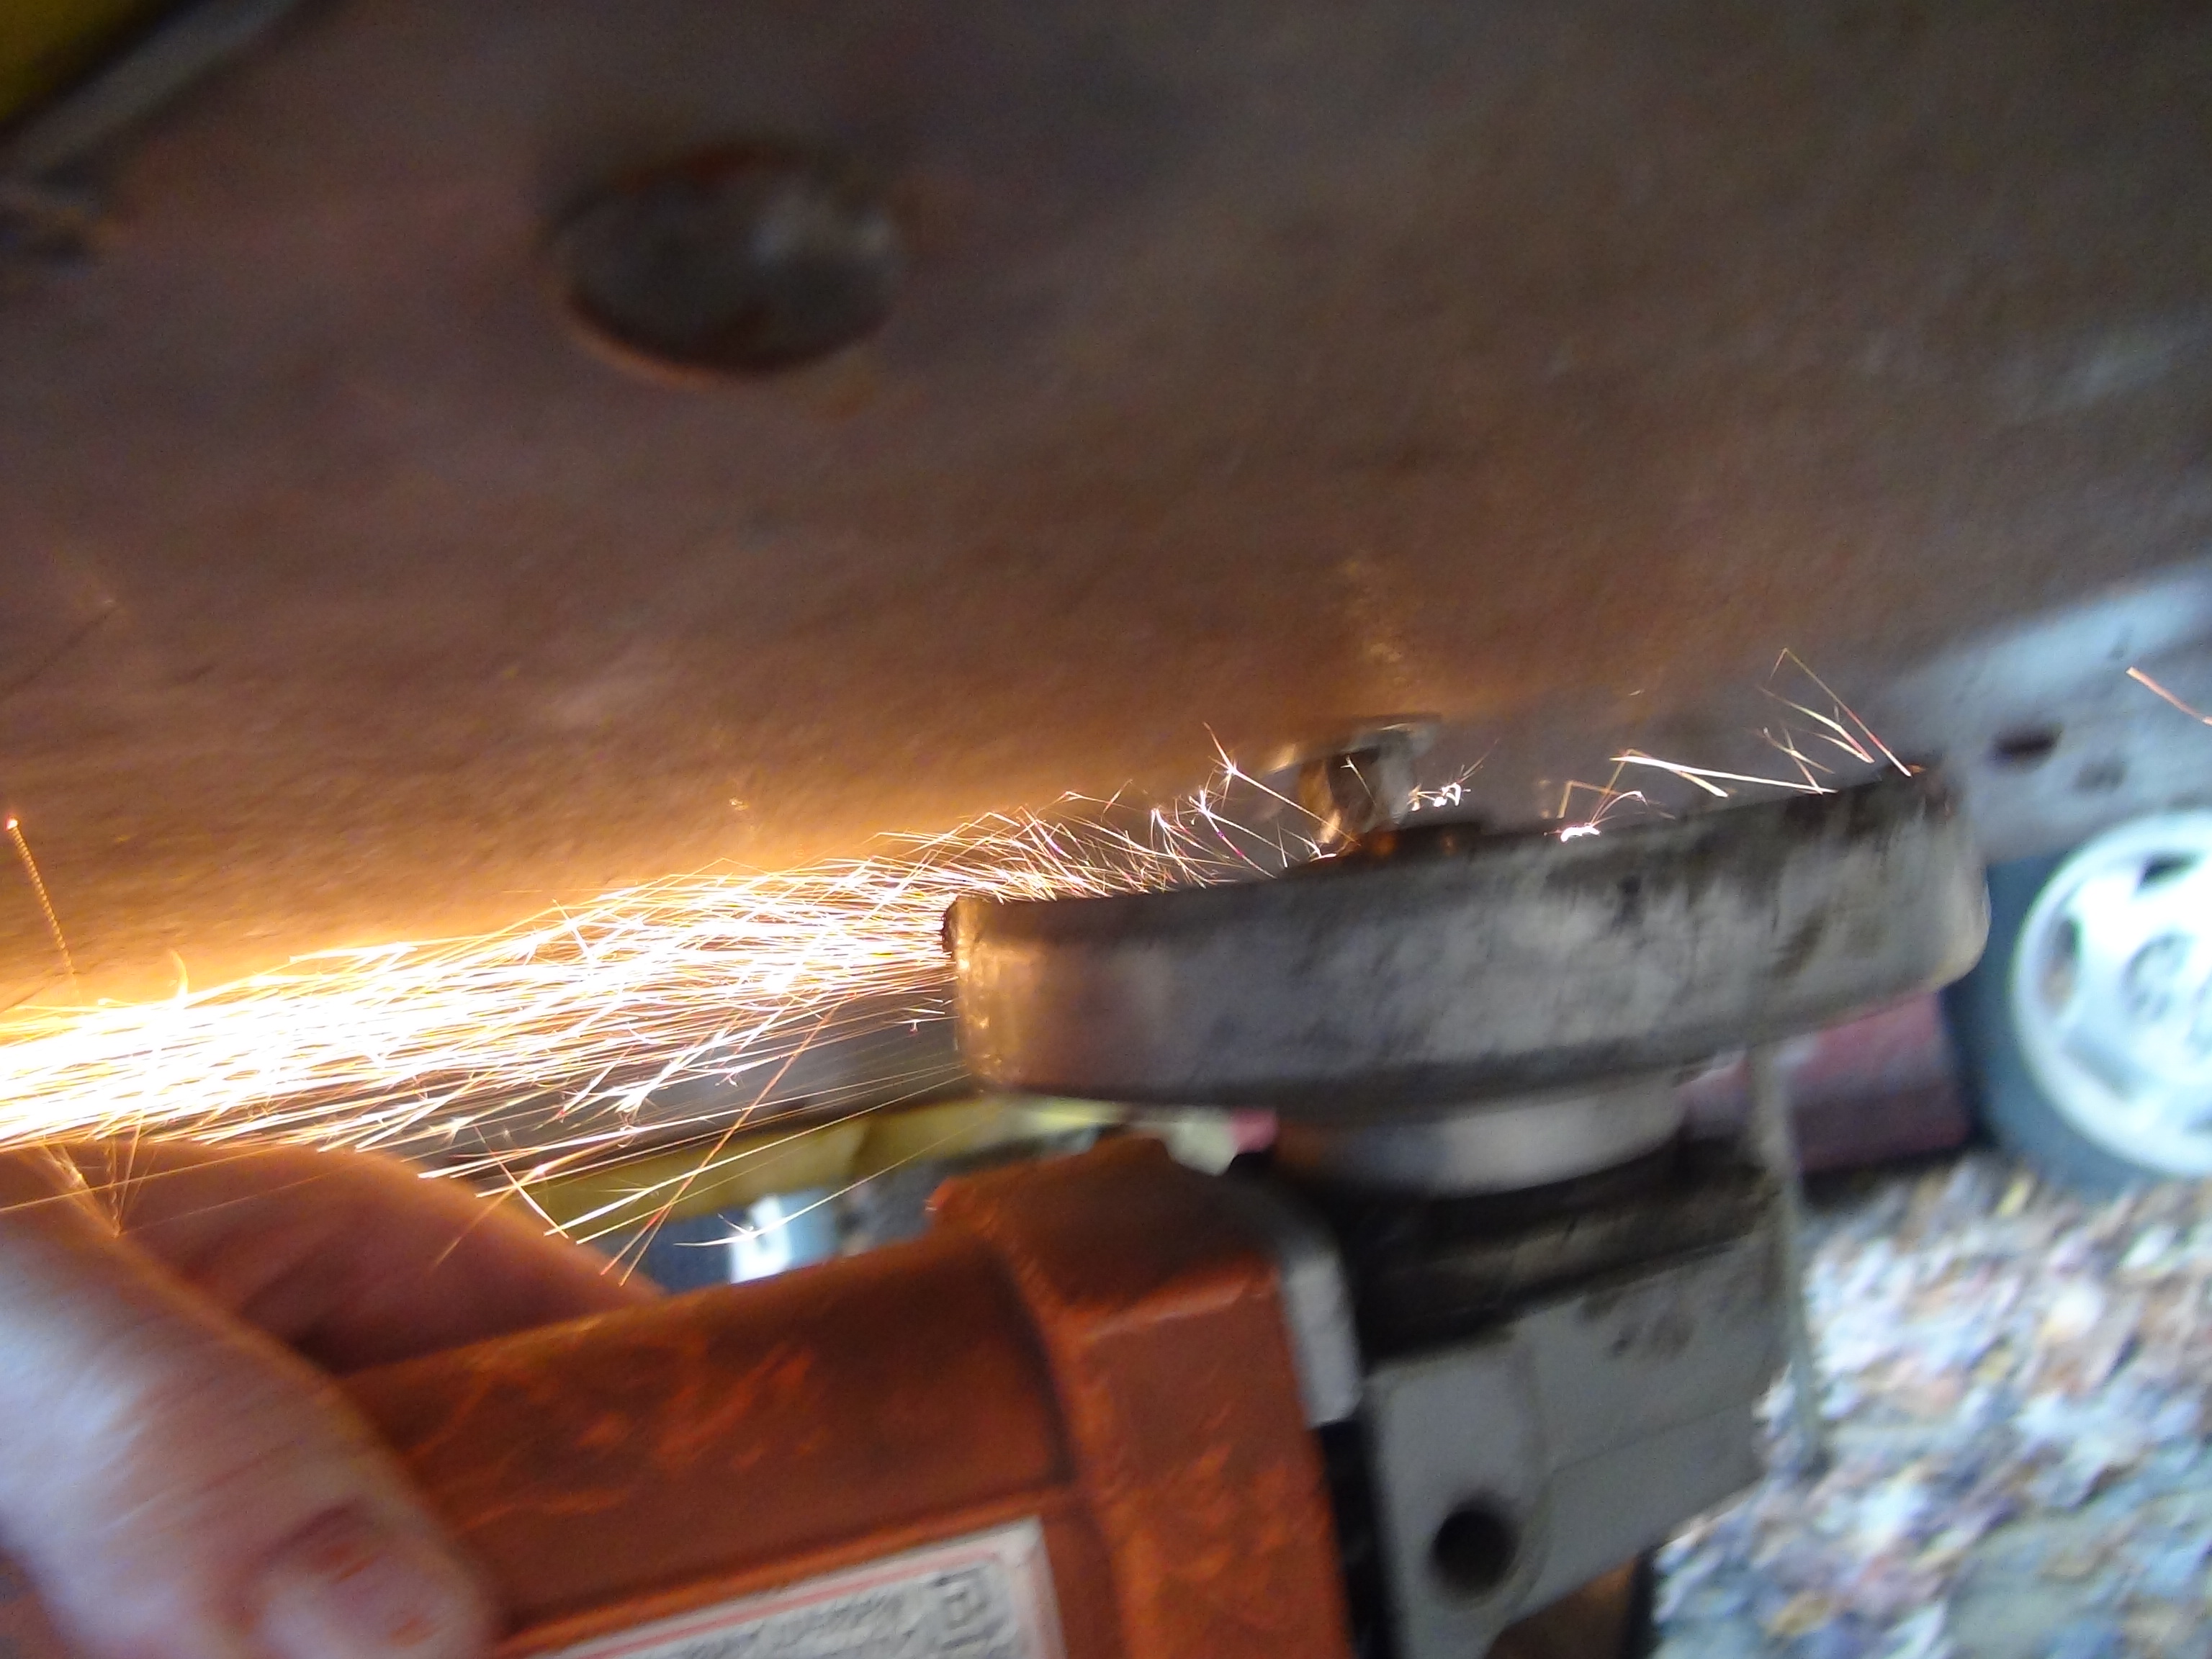
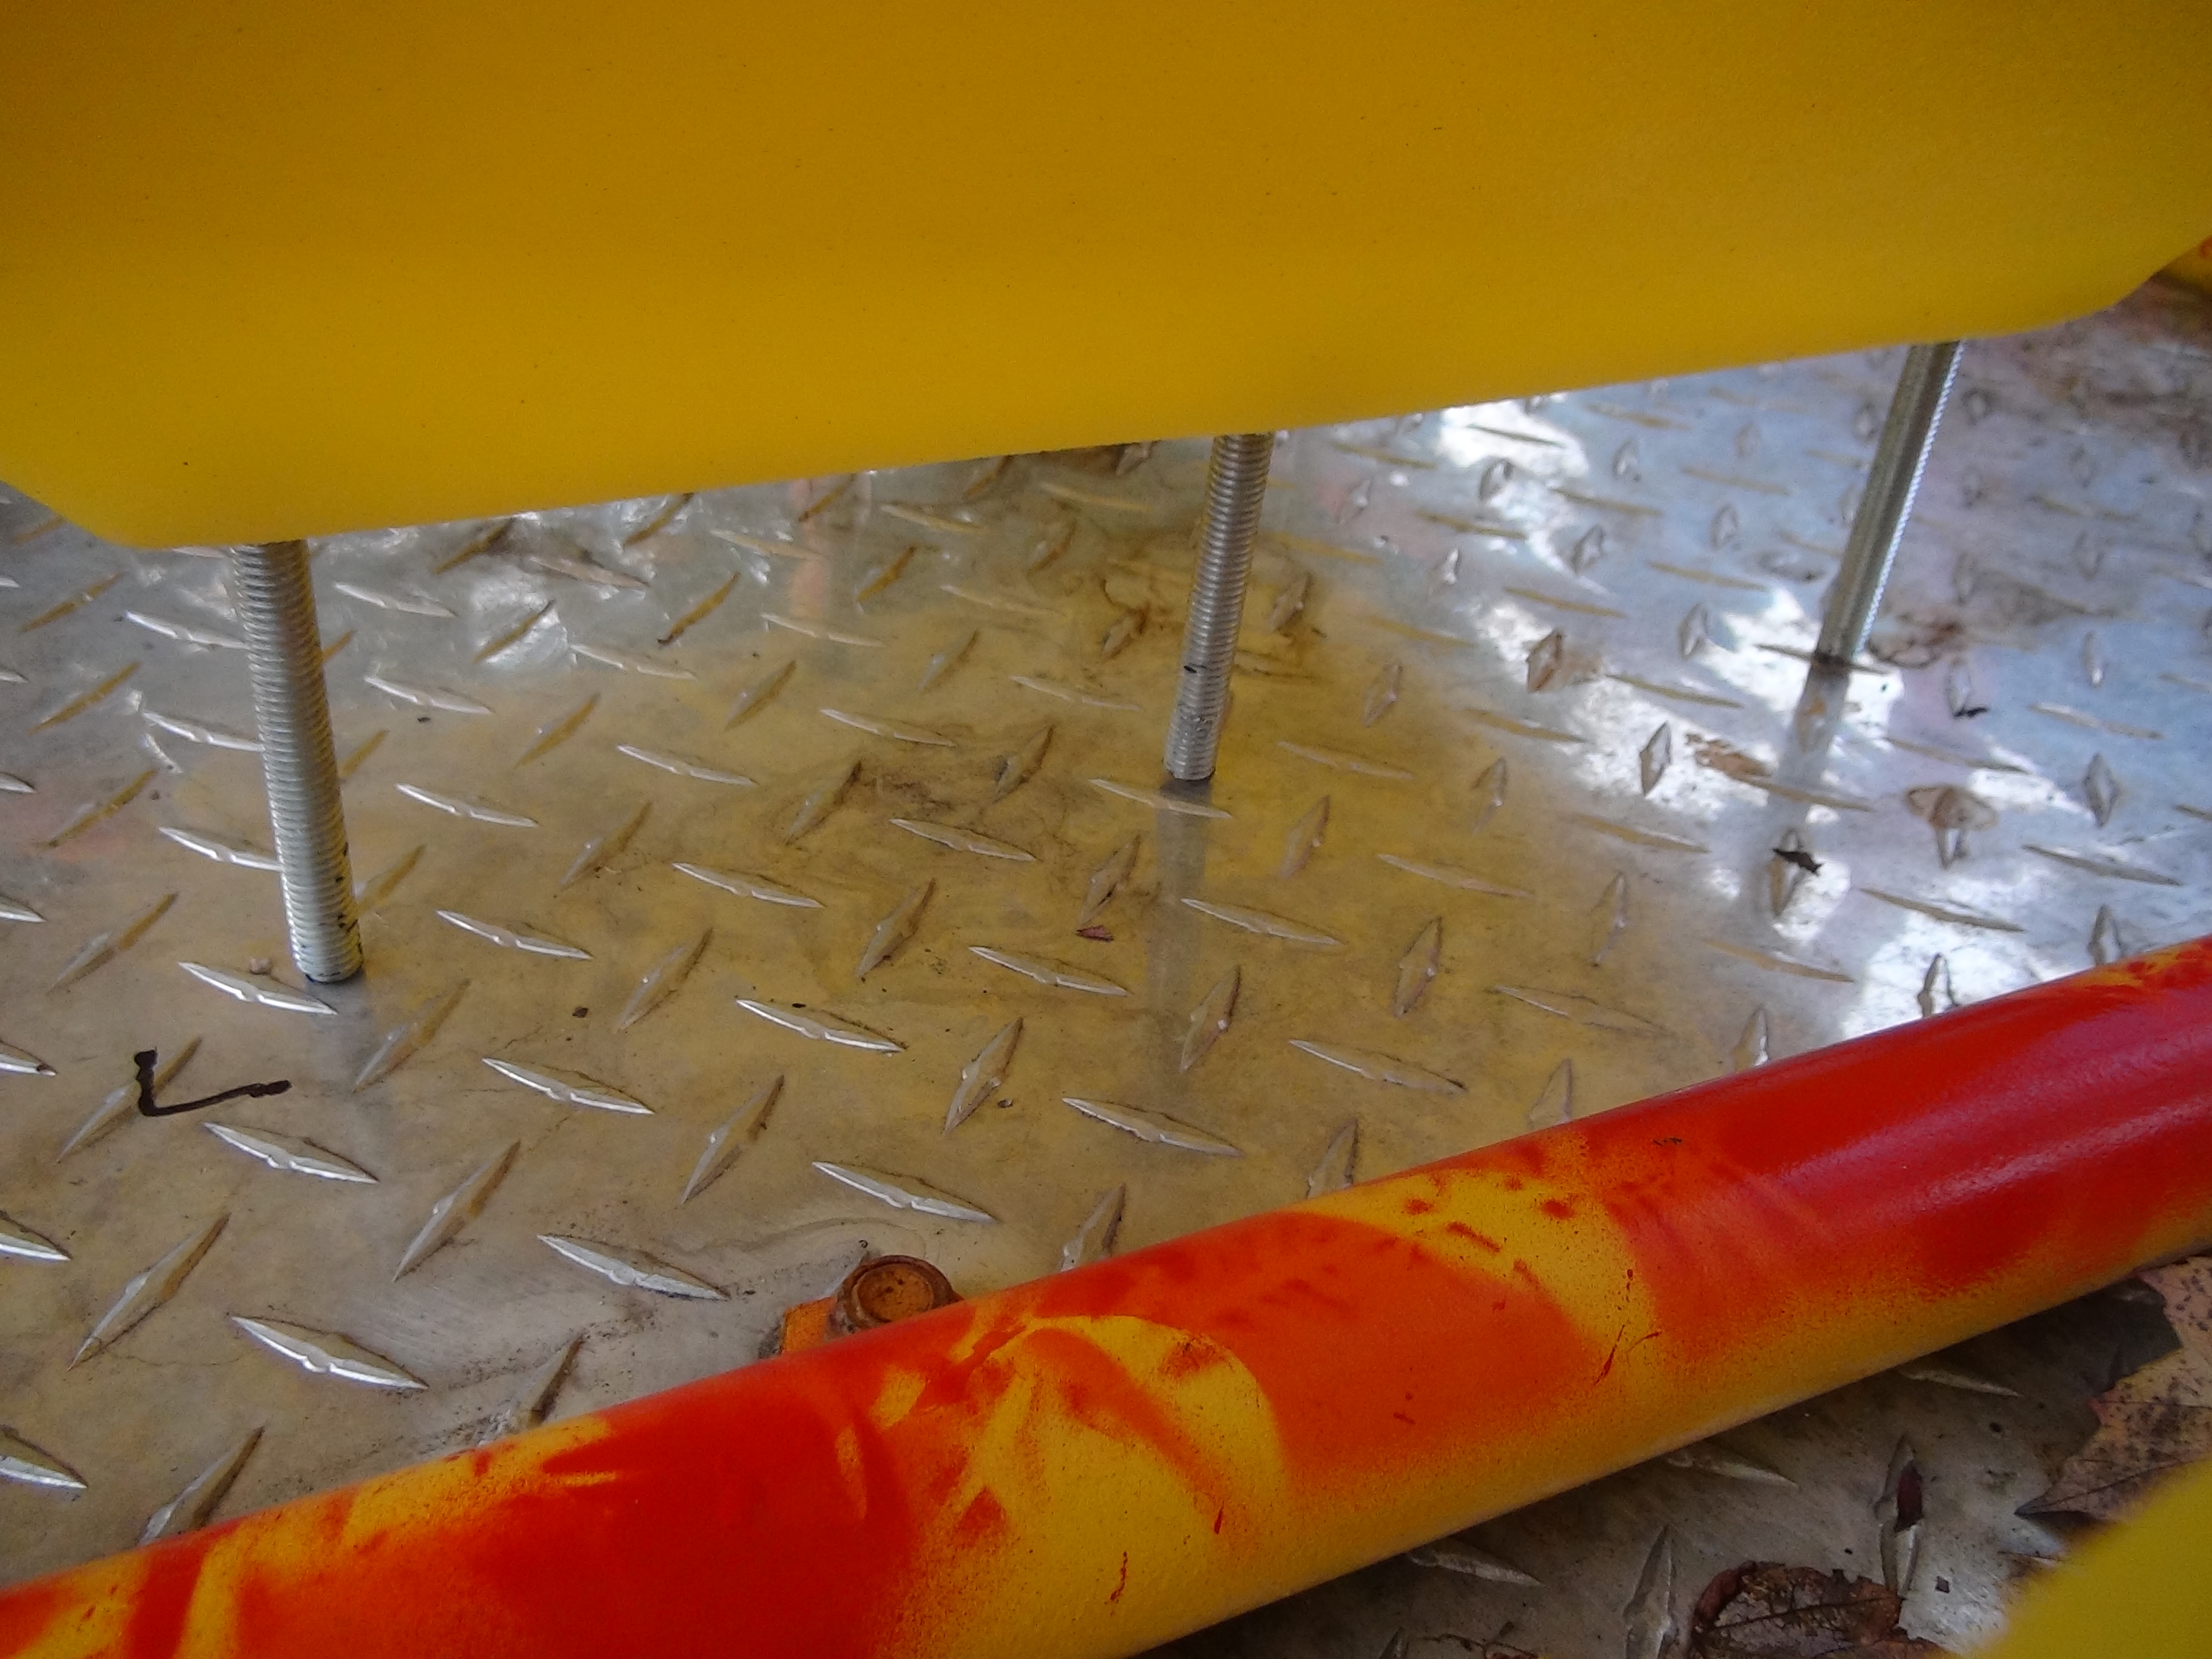
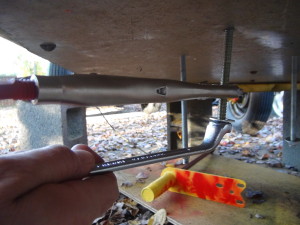
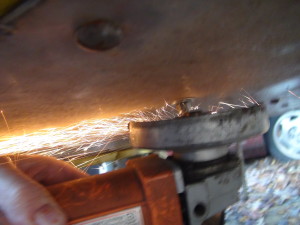
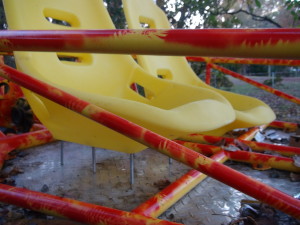
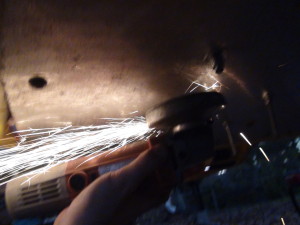
Alright, I think I have the time to get these seats finished up today. One of the challenges that I ran into the other day was, one of the middle studs had actually screwed itself deeper into the seat than I had thought. I took a photo but forgot to upload it previously. I’ll need to fix that today, no biggie. Okay, so I’m underneath the buggy working on the driver side seat still. I took my pair of Milwaukee vice grips and held the stud in place with my left hand as I used a box end 15mm wrench to tighten the nylon nut. As I moved further up the nut, I moved the vice grips to the bottom and continued tightening until the nut was secured. Afterwards, I grabbed my grinder with the cutting disc and removed the stud excess. The drivers seat had been installed.
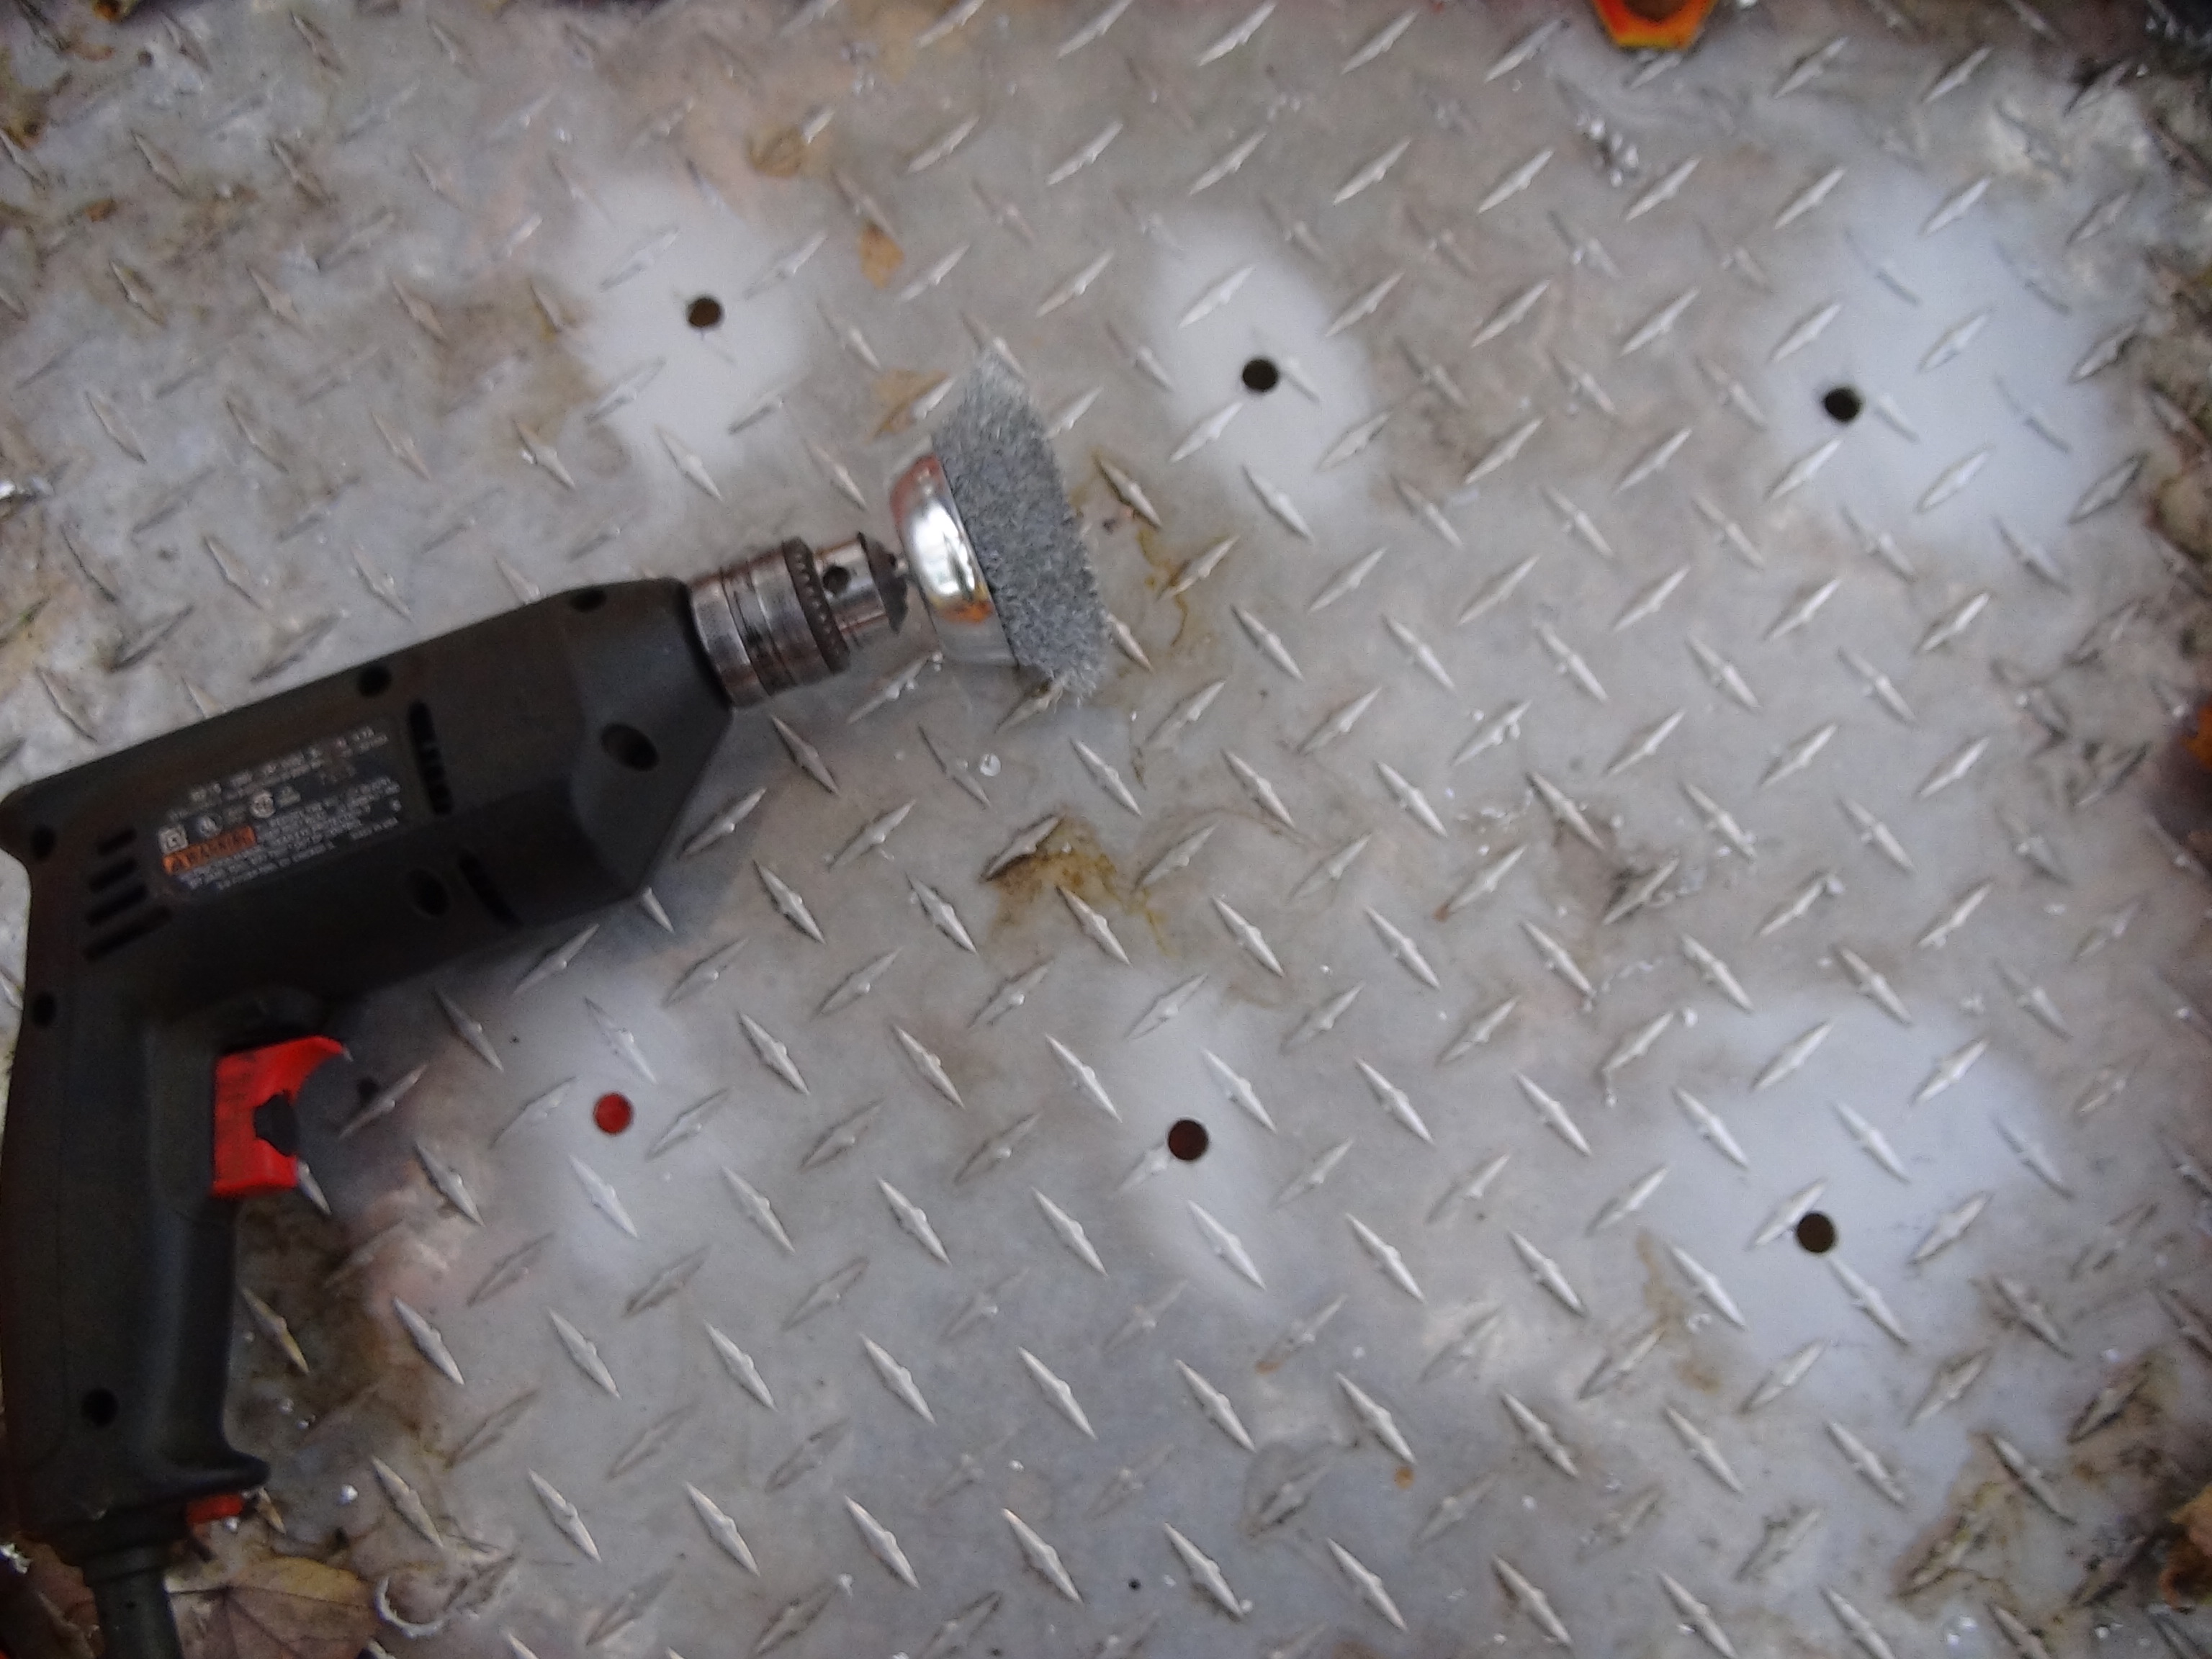
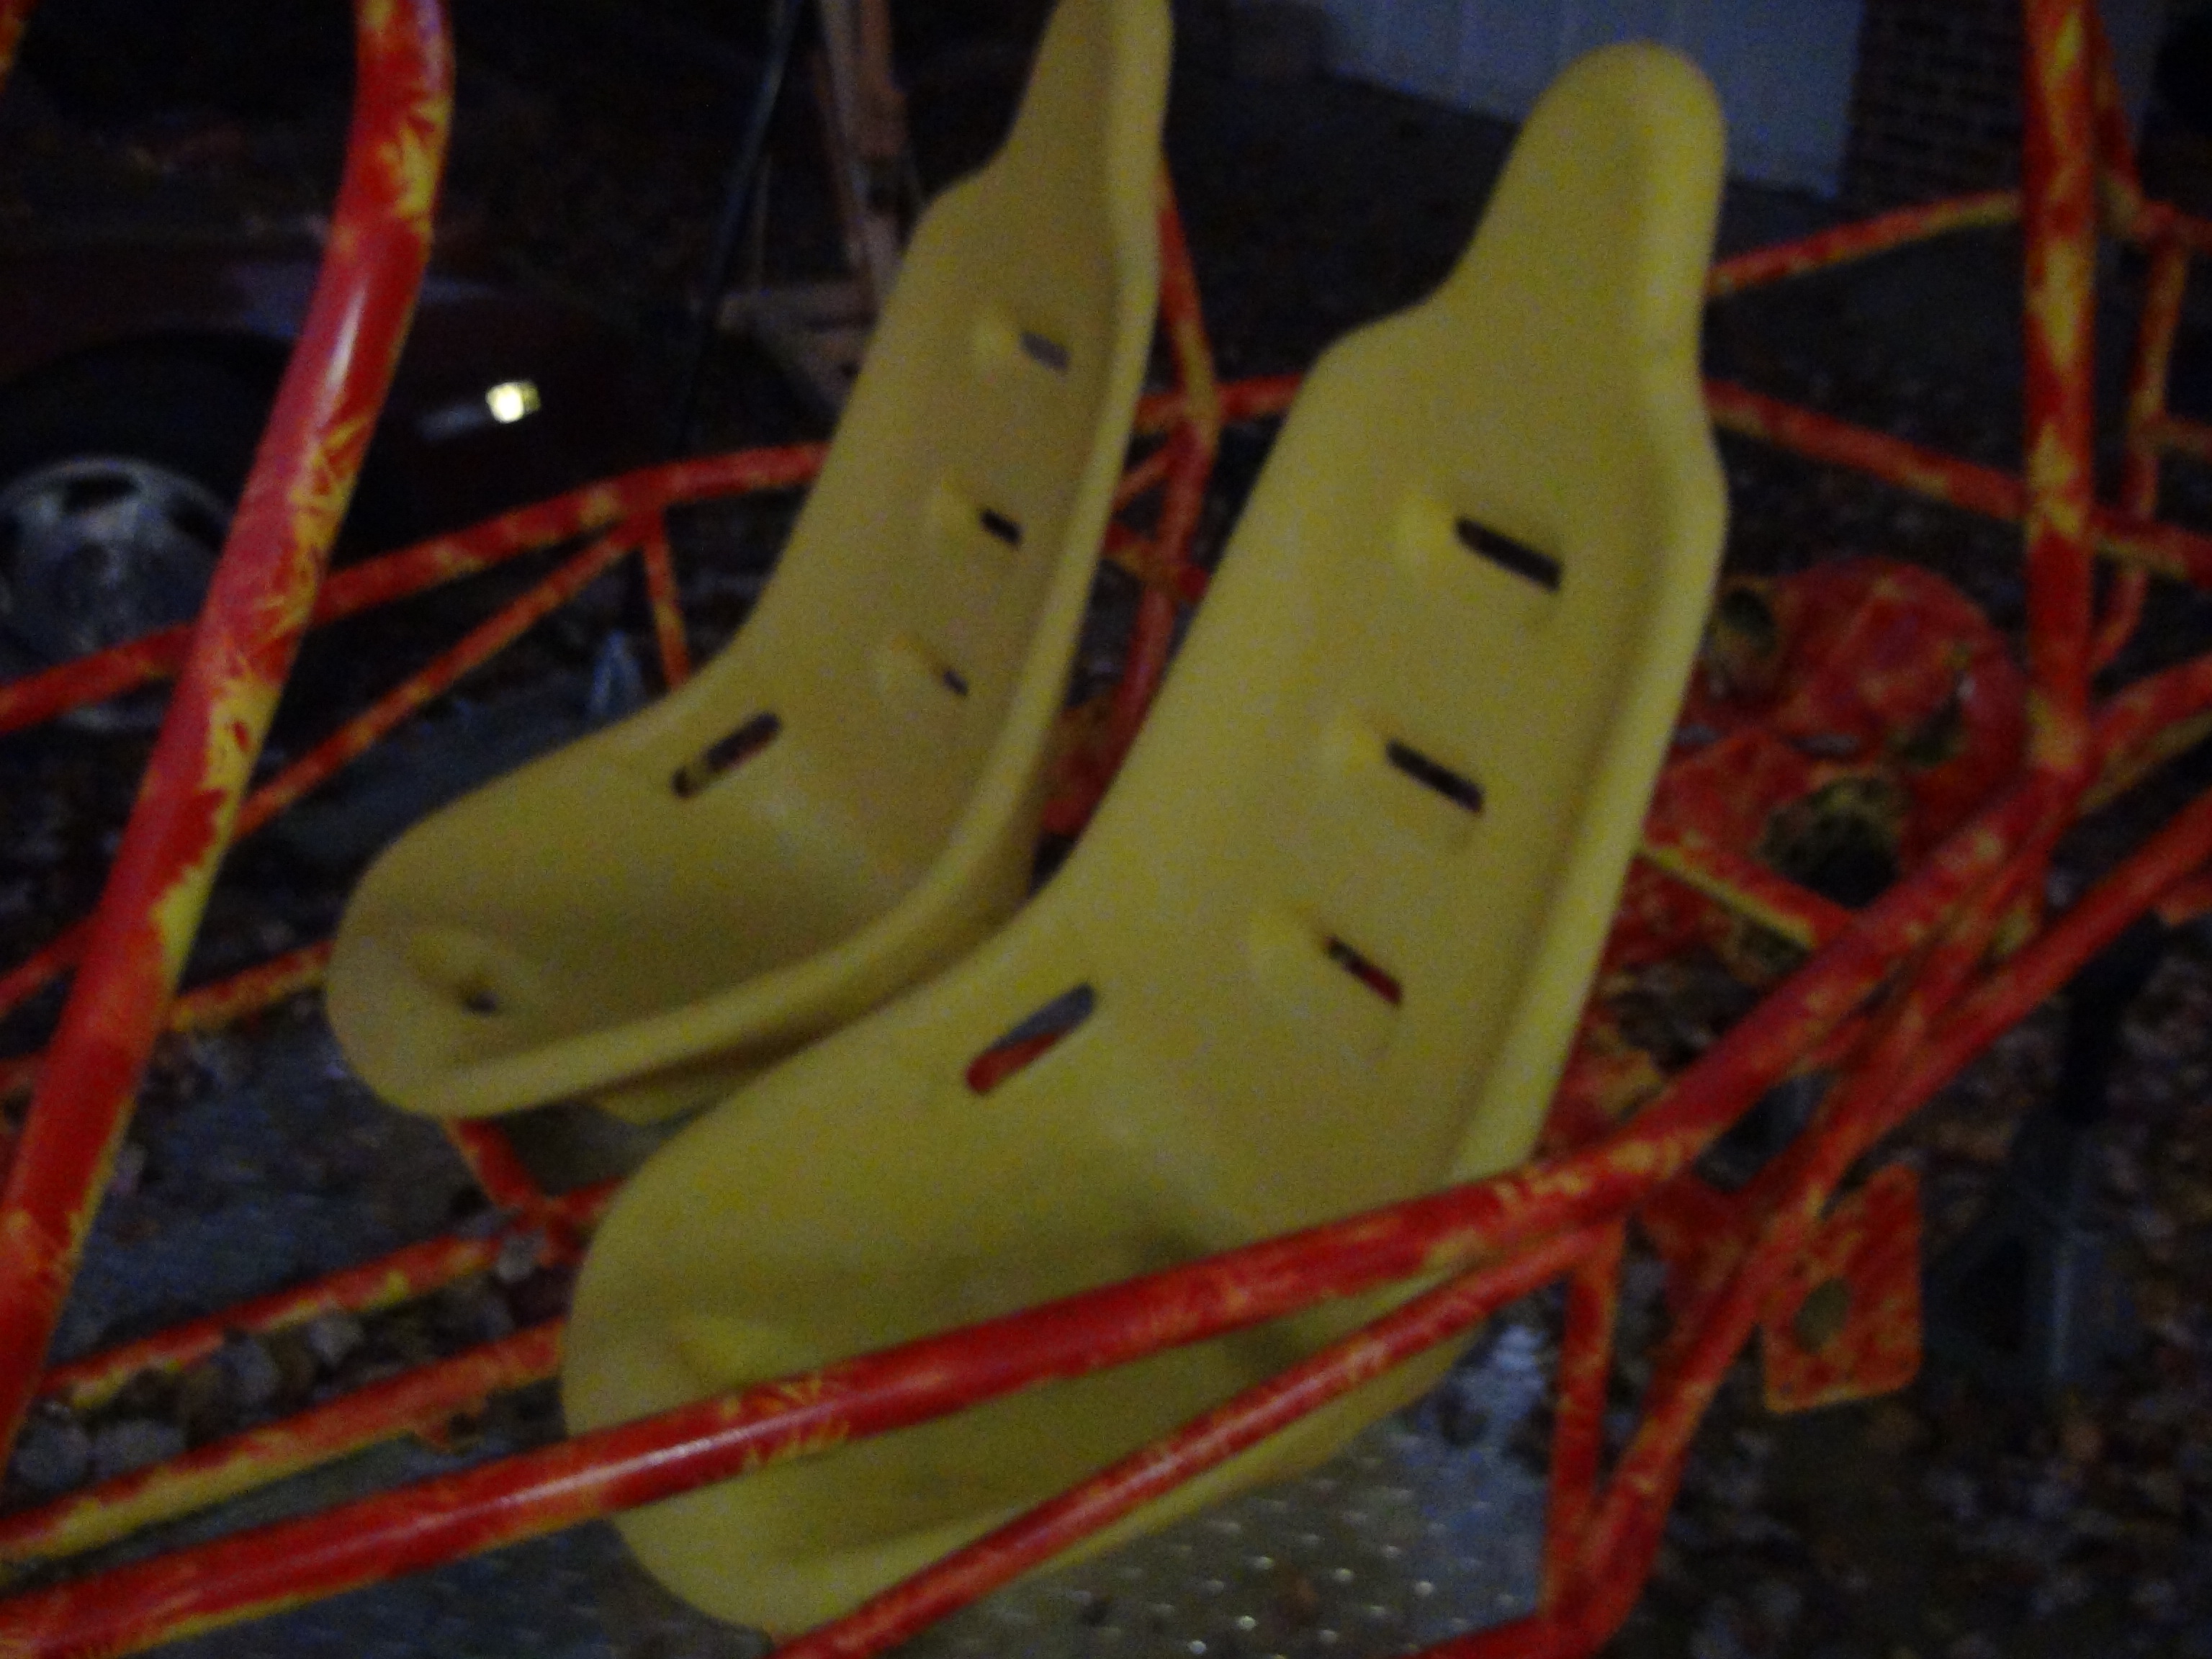
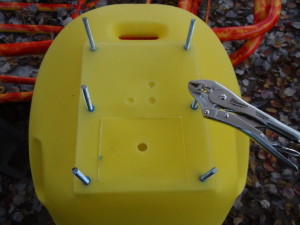
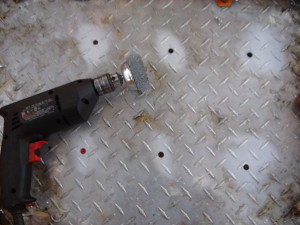
Now, moving over to the passenger seat, I basically followed some of the same steps. I put Loctite on each of the studs and screwed them into the stud holes. I had to use the vice grips to turn them in farther so they would go in enough. Put the seat on the pan, marked for the holes, and used a wire wheel to remove the marker lines. Finally, I slipped the seat onto the pan, into the holes, bolted everything down, and cut off the excess stud lengths. The passenger seat has been installed.


Share This: 

Comments
comments