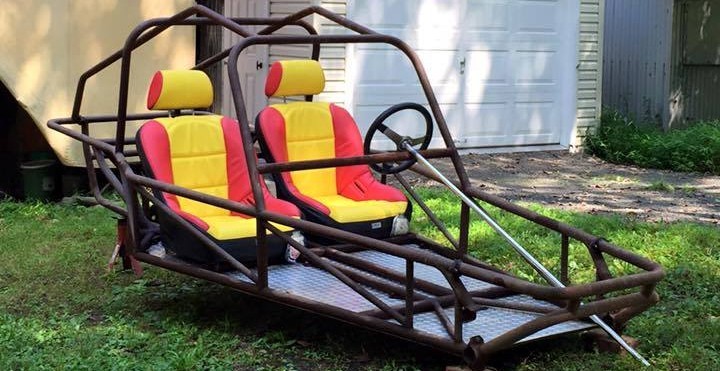
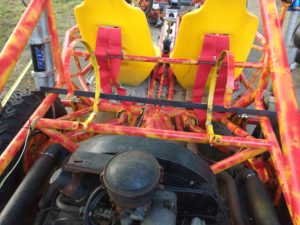
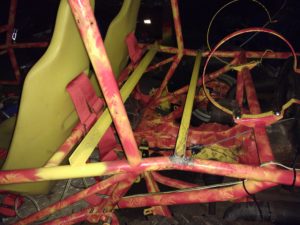
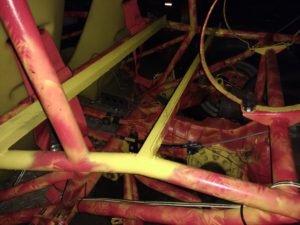
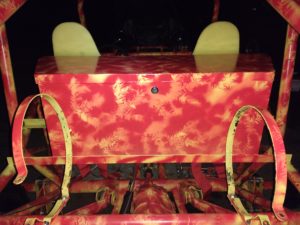
The first thing I need to do is measure the distance between the rails to figure out how much angle iron I need to buy. Okay, got those measurements taken, off to Home Depot I go.
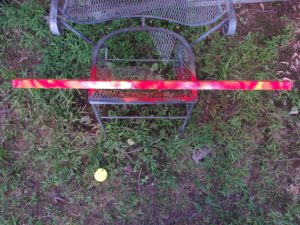
I used my sawzall to cut the angle iron to length, set the pieces on top of the rails to see how they look. Next, I used my grinder to prep the areas where I would be welding the angle iron to. I quickly spray painted both of the pieces. After they had dried, I cleaned off about two inches from each end with my grinder. These need to be clean to affix the welds. Then I unbolted and removed the gas tank. Don’t need any more accidents!
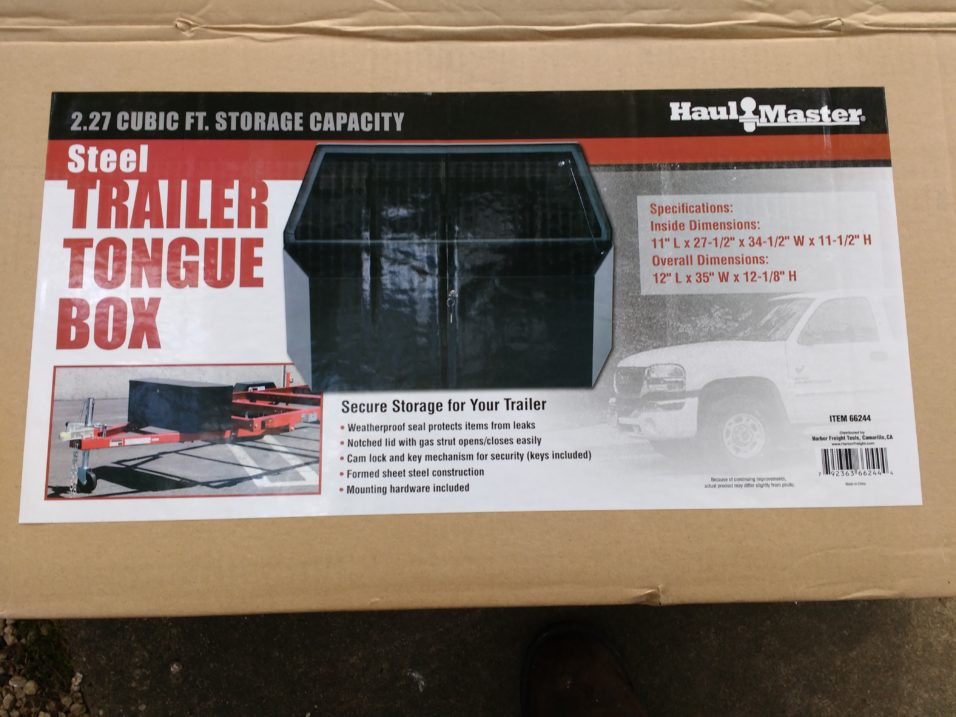
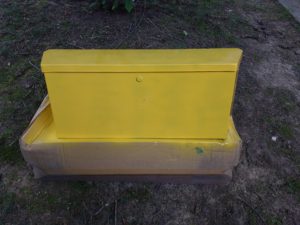
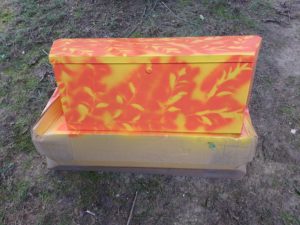
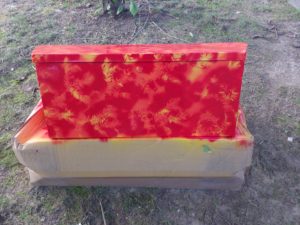
I forgot to mention that I also measured the width of the box so I knew whereabouts I would be adhering the pieces of angle iron. While I was painting the iron pieces, I also shot some paint onto the storage box itself. Took longer to dry than I had hoped but, that’s the way it goes some time.
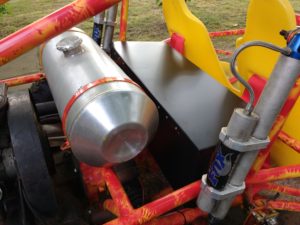
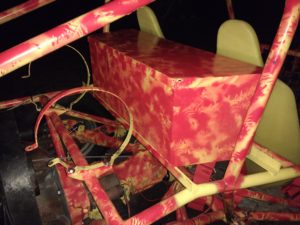
Okay, with both pieces welded in place…now, to clean the welds with my grinder and shoot some paint. Done! Looks great! Next, I have to drill some holes through the braces I just made into the box itself. These will hold the box in place so it doesn’t shift while I’m driving the buggy. Holes drilled, box installed…long day but, great results. Very happy!
Share This:
